

Hello again there, folks. Today’s recipe is a lovely, sweet taste of bonnie Scotland: the Scottish snow cake. Perfect for teatime and a nice cuppa.
What is Scottish snow cake?
Scottish snow cake is one of many teatime favourites from the great nation of Scotland, where it probably came from humble home cooking traditions.
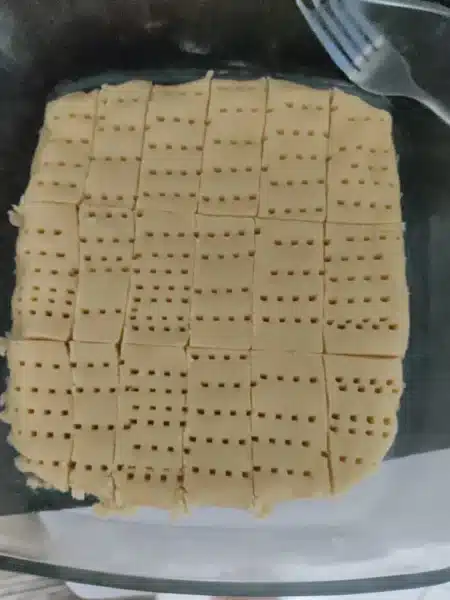
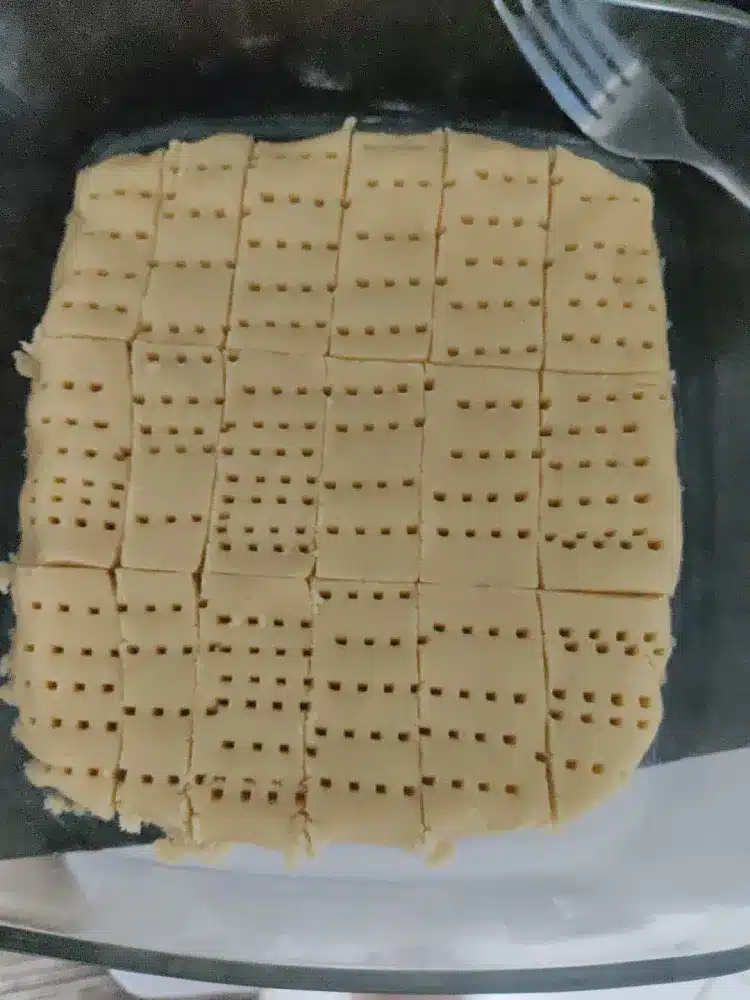
It’s a delicate sponge cake filled with tasty raspberry jam and topped with its signature “snow,” desiccated or shredded coconut and icing. An old-fashioned taste of Scotland that’s light like a Victoria sponge cake, rather than dense like Scottish Shortbread Fingers.


For a casual home baker, it’s pretty straightforward and easy to make, and definitely worth the effort!
Ingredients in a typical Scottish snow cake
Snow cake is made with three layers and its signature snow topping (coconut and icing). It’s rather easy, not complicated! Here’s how to build up your snow cake, from the bottom to the top:
- Short Crust Pastry: the bottom of the snow cake will be a firm short crust pastry made with flour, butter, and sugar, and an egg yolk mixed in. This gives the bottom of the cake a nice base. Use unsalted butter, cold and cut into cubes and worked into the flour by hand, and add a pinch of salt. The key is to work the butter into the sugar without creaming it, then adding the egg, then the flour, and working it all together with your hands until it feels like breadcrumbs. Lastly, blind bake it for about 10 minutes at 190°C so that it sets nice and firm.
- Preserve Filling: use raspberry jam for a traditional snow cake. My version used a homemade thickened raspberry coulis, but a jarred raspberry jam (or any other fruit you like) can work.
- Sponge Layer: you want something a little like Victoria sponge cake, so mix your butter and sugar together well using a mixer (I did it by hand, but a mixer would be much faster). Add in one beaten egg and about 50g of the sugar, mix, then repeat two more times until it’s well mixed. It should be light in colour and fluffy enough to dollop on top of the preserve. Dollop it on top all over and avoid mixing up the jam with the sponge cake. Once it’s all placed, then you can smooth out the top a little. It doesn’t need to look perfect; the topping will cover up any imperfections.
- Icing & Topping: after the cake has been baked, you’ll want your icing sugar ready to pour and spread across the top. Add just enough water so that it’s thick but spreadable, and add all of your coconut on top whilst it’s still wet. After a couple of hours of resting, the “snow” will be firmly set in the icing.
- Additional Ingredients: feel free to add vanilla extract to the sponge cake, or currants to the filling. Conserved cherries can be a nice addition to the preserve filling, or placed on top of the icing.
Great ways to serve Scottish snow cake
These little snow cakes are a perfect little treat with tea or coffee in the morning or afternoon, or even as a nice dessert.
I cut mine into rectangles, but you’ll often see them cut into squares or diamonds. Cut around the sides of the pan after it’s baked, but hold off on slicing it until the icing has set.
It should be firm enough to keep together after an hour or two, but of course you can carefully slice out a few wee slices for the hungry bairns in your home!
Tips & tricks for Scottish snow cake
Working with shortcrust pastry is not the same as making the sponge cake layer. You’ll want to work in cold, cubed butter with the sugar by hand, clumping it together but not too firmly.
After mixing in the egg and flour, it should feel like breadcrumbs. Press it down into the baking tray, aiming for about 5mm thickness all around. The blind bake is what helps it to set, so that the other layers have something firm to sit upon.
For the filling, use as little or as much as you want. Just make sure that you’ve spread it nicely before dolloping the sponge cake batter.
You don’t want to faff about with sponge cake mixed with filling, so use a firm hand and dollop it more or less uniformly across the filling. Only start spreading the sponge cake batter out after it’s all been added.
For your icing, add a little water and mix, only adding more water if it’s still too thick. If you’ve added too much water, add a touch more sugar and keep mixing.

Description
Enjoy this traditional, nostalgic home baking favourite from Scotland, the Scottish snow cake. A dense shortbread crust and sponge cake layer, filled with raspberry jam then topped with icing and coconut. Makes for a great teatime snack with tea or coffee, or for dessert.
Ingredients
Short Crust Pastry
Filling
Sponge Cake
"Snow" Topping
Instructions
Making the Shortbread Crust
-
Add 50g sugar to a large mixing bowl. Slice 170g butter into small cubes and add to bowl. Wash your hands, then clump the butter and sugar together gently with by hand, without creaming the butter.
-
Add the egg yolk and mix with a wooden spoon until combined.
-
Add 170g flour to bowl and clump all contents by hand until reaching a breadcrumb consistency.
-
Preheat oven to 190°C. Place the shortbread crust in a 20x20cm baking tin, then firmly press it down until it's uniform and about 0.5cm thick.
-
Bake for approximately 10 minutes then remove. If it starts to brown, remove immediately. Let rest while preparing the sponge cake layer.
Making the Sponge Cake
-
Add 150g butter and 150g caster's sugar to bowl. Using a stand mixer, handheld mixer, or a wooden spoon, combine until fluffy and lightly coloured.
-
Add one beaten egg and a third of the flour (50g) and mix until combined. Repeat this step until all three eggs and all 150g of flour are combined.
Filling & Baking the Cake
-
Spoon all raspberry jam and currants (optional) over the shortbread crust and smooth out evenly.
-
Use a spoon to dollop the sponge cake batter over the filling. Make sure the dollops are spread across the surface. When all sponge cake batter has been dolloped, smoothen out the top. It doesn't need to look perfect, but make it more or less smooth.
-
Reduce oven to 180°C. Bake cake for approximately 30 minutes, without opening glass until it smells and looks like it's risen enough. Remove from oven and use a knife to cut across the edges of the tray only, then let rest.
To test if it's finished, insert a knife directly into the cake. It should pull out without any batter getting stuck to the knife's surface. If it's still raw, bake for a few more minutes and test again.
Icing & Resting
-
In a small/medium bowl, add 125g icing sugar and add about half a tablespoon of water or lemon juice. Whisk until it's liquid and smooth. If it's too thick, add another half tablespoon of water. If you've made it too liquidy, add more sugar and continue whisking.
-
Pour the icing across the top of the cake. Smooth it out uniformly across the top, then sprinkle coconut across the top.
-
Let the cake rest for at least 15 minutes before cutting a slice or two, but ideally wait for at least 1-2 hours until the topping has hardened. Using a sharp knife, slice into squares, rectangles, or diamonds and serve.
Note
- Storage: can be kept at room temperature in an airtight container for about 3 days.
- Serving Size: you can slice these into little squares or slightly larger rectangles, as you desire.
- Variations: as a traditional home baking recipe, it's difficult to nail down one "authentic" version, but many recipes call for currants. You can also use conserve cherries in the filling or on top, or even use a different filling than raspberry, if you like.